
搭建个人博客有很多平台,比较受欢迎的就是基于Github使用Hexo框架搭建个人博客了。本文记载了一次使用Github+Hexo搭建个人博客的过程。
1 准备工作
1.1 为Github配置ssh
1.1.1 生成新的ssh密钥
打开终端,Windows上最好使用Git Bash,配置用户名和邮箱:
1
2git config --global user.name "your_username"
git config --global user.email "your_email@example.com"生成新的ssh密钥
1
$ ssh-keygen -t rsa -b 4096 -C "your_email@example.com"
当提示输入一个文件来存储密钥时,按回车选择默认文件就好
1
Enter a file in which to save the key (~/.ssh/id_rsa): [Press Enter]
当提示输入私钥密码时,按回车表示不使用私钥密码,也可以自行设置
1
2
> Enter passphrase (empty for no passphrase): [Type a passphrase or press enter]
> Enter same passphrase again: [Type a passphrase or press enter]
生成好后,密钥保存在~/.ssh/id_rsa文件中。
1.1.2 添加ssh密钥到ssh代理
后台启动ssh-agent
1
2eval "$(ssh-agent -s)"
Agent pid 59566根据官网的配置教程,如果你的系统是macOS Sierra 10.12.2或更高版本,需要修改
~/.ssh/config文件自动加载密钥到ssh-agent,并在密钥链存储私钥密码。检查
~/.ssh/config文件是否存在1
2open ~/.ssh/config
The file /Users/you/.ssh/config does not exist.如果文件不存在,则创建
1
touch ~/.ssh/config
编辑
~/.ssh/config文件1
2
3
4Host *
Add KeysToAgent yes
UseKeychain yes
IdentityFile ~/.ssh/id_rsa
添加你的ssh私钥到ssh-agent并且存储私钥密码
1
ssh-add -K ~/.ssh/id_rsa
1.1.3 添加ssh公钥到Github账号
复制ssh公钥,可以手动复制,也可以使用命令复制
1
2clip < ~/.ssh/id_rsa.pub
Copies the contents of the id_rsa.pub file to your clipboard打开Github,选择用户下的设置
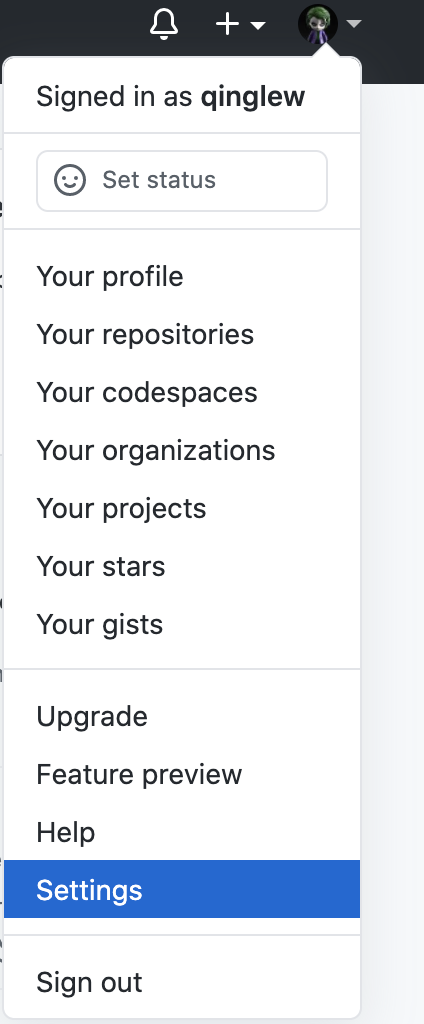
选择”SSH and GPG keys”

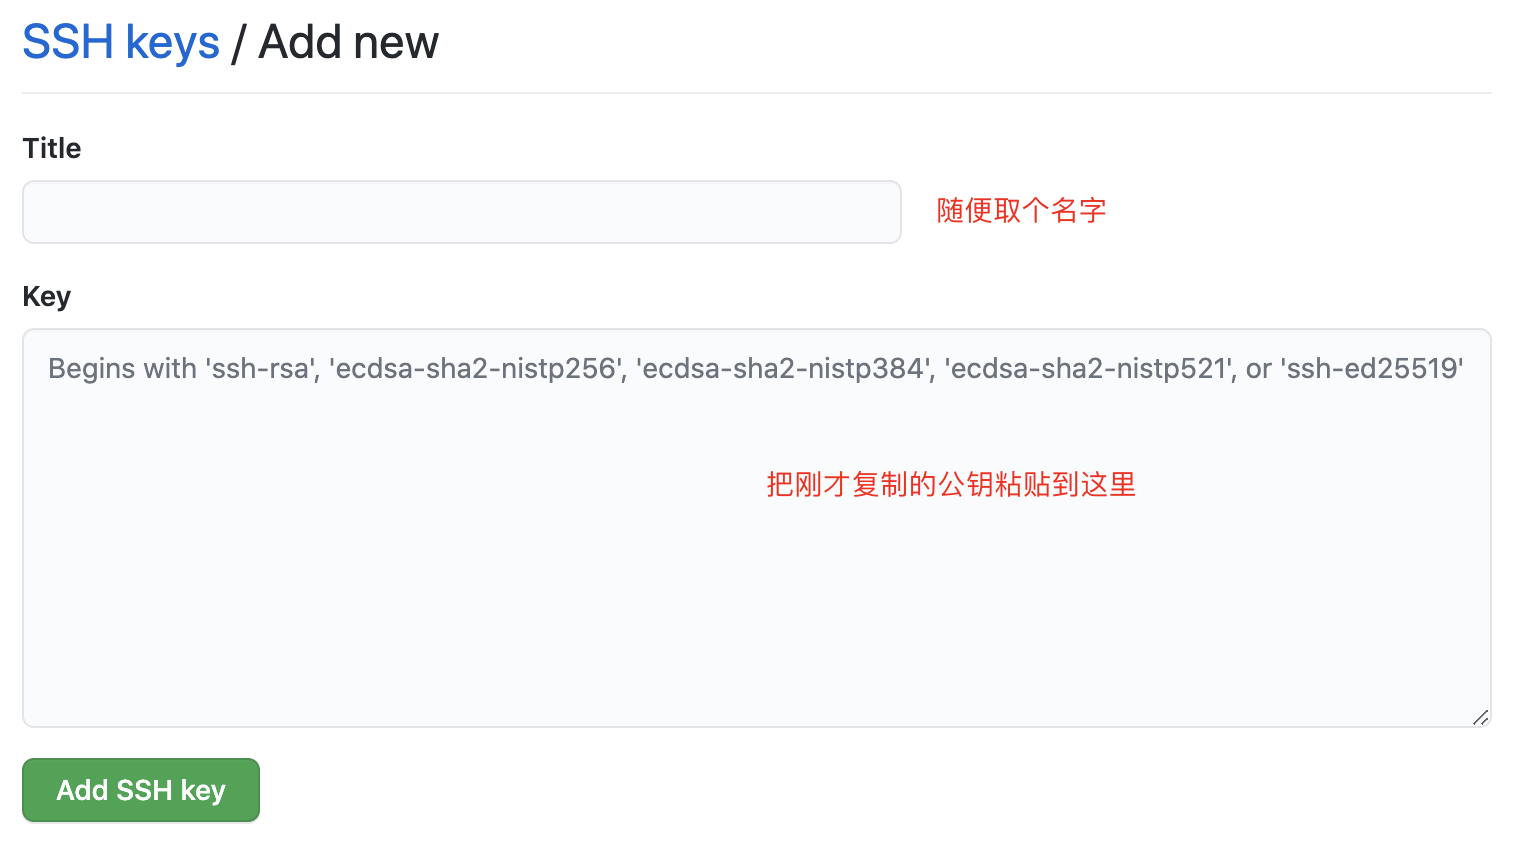
点击”New SSH key”

将刚才复制的ssh公钥粘贴到key一栏,点击“Add SSH key”添加公钥
1.1.4 测试配置是否成功
打开终端或Git Bash,输入命令
1
2ssh -T git@github.com
Attempts to ssh to Github你可能会看到如下警告:
1
2
3The authenticity of host 'github.com (IP ADDRESS)' can't be established.
RSA key fingerprint is SHA256:nThbg6kXUpJWGl7E1IGOCspRomTxdCARLviKw6E5SY8.
Are you sure you want to continue connecting (yes/no)?输入”yes”,如果显示以下信息,说明配置成功
1
2Hi username! You've successfully authenticated, but GitHub does not
provide shell access.如果你接收到了一个“permission denied”消息,说明配置失败,请参考Error: Permission denied (publickey)。
1.2 安装Node.js
1.2.1 下载安装Node.js
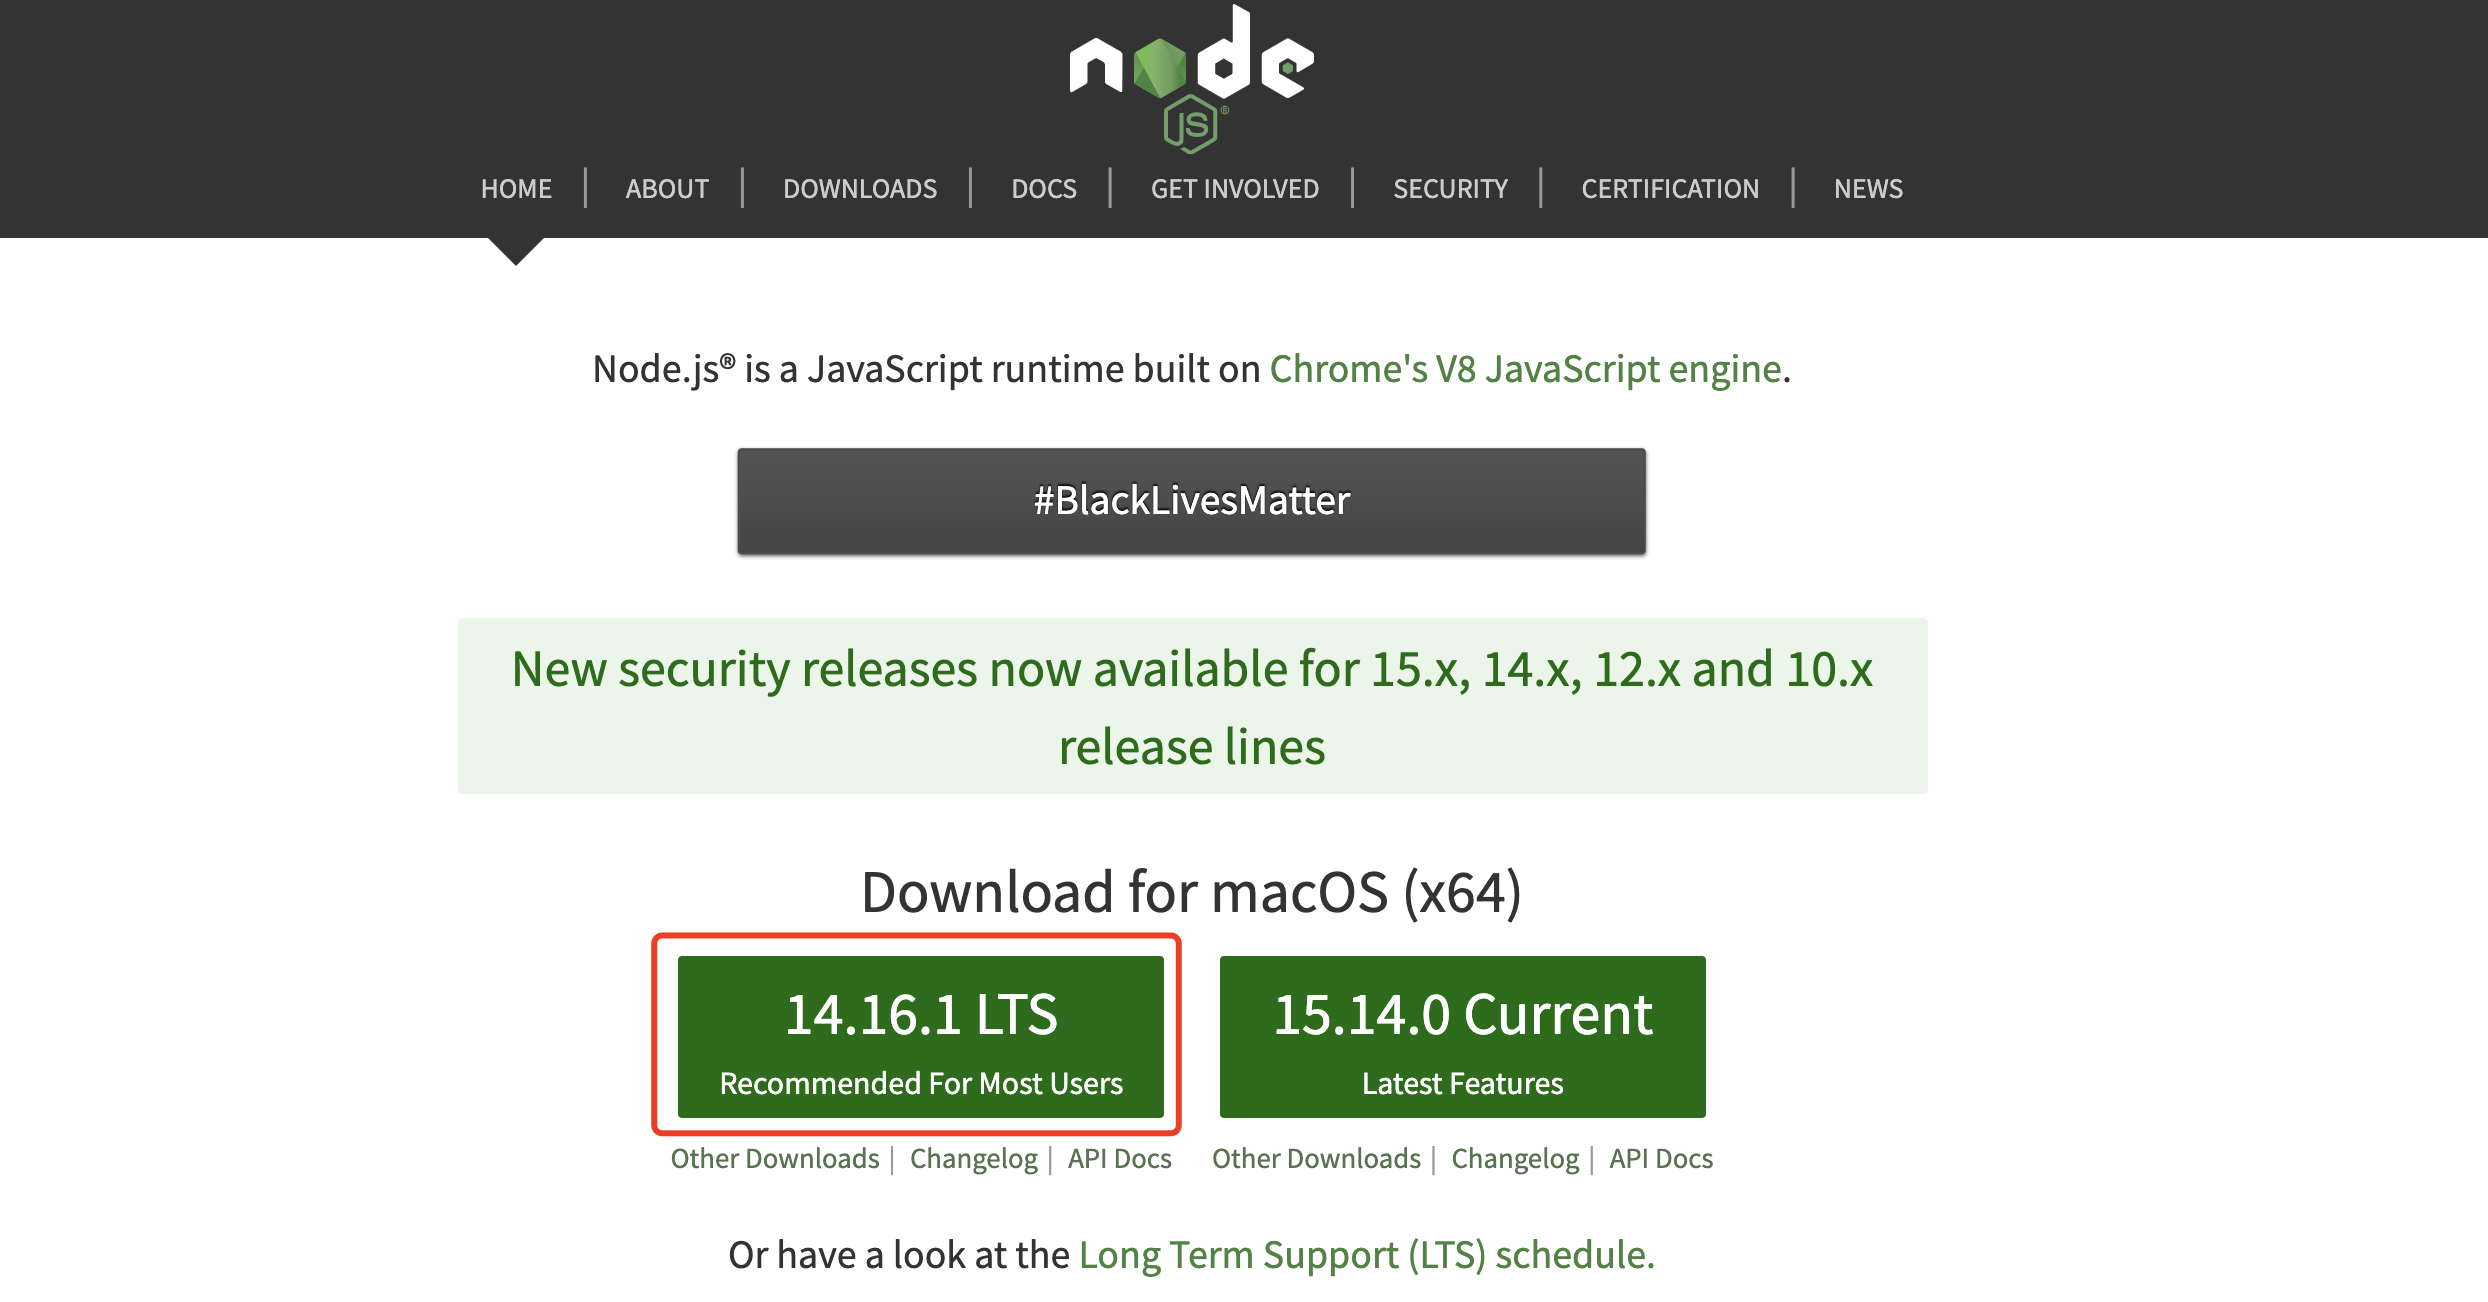
MacOS下安装Node.js只需在官网下载.dmg包安装即可。
1.2.2 修改镜像为淘宝镜像
国内推荐使用淘宝镜像加速npm下载,可使用如下命令配置:
1 | npm install -g cnpm --registry=https://registry.npm.taobao.org |
2 博客搭建
2.1 创建Github仓库
以Github为平台,需要首先新建一个Github仓库,仓库名为username.github.io。

2.2 初始化本地环境
安装hexo框架:
1
npm install -g hexo
新建本地目录,并使用hexo初始化:
1
2mkdir hexo && cd hexo
hexo init在本地预览博客效果:
1
hexo server
2.3 推送到Github仓库
配置博客根目录下的
_config.yml:1
2
3
4
5
6
7
8language: zh
# Deployment
## Docs: https://hexo.io/docs/one-command-deployment
deploy:
type: git
repo: git@github.com:username/username.github.io.git
branch: master注意,
username字段请自行替换成自己的github用户名。推送到github仓库
1
hexo deploy
访问
https://username.github.io,即可查看博客主页。
Hexo常用命令
3.1 Create a new post
1 | $ hexo new "My New Post" |
More info: Writing
Run server
1 | $ hexo server |
More info: Server
3.3 Generate static files
1 | $ hexo generate |
More info: Generating
3.4 Deploy to remote sites
1 | $ hexo deploy |
More info: Deployment